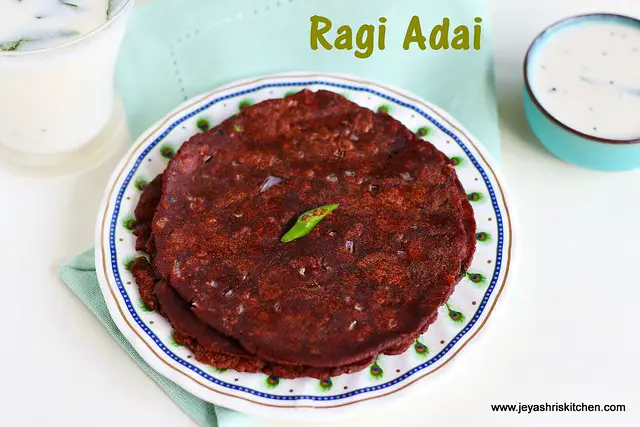
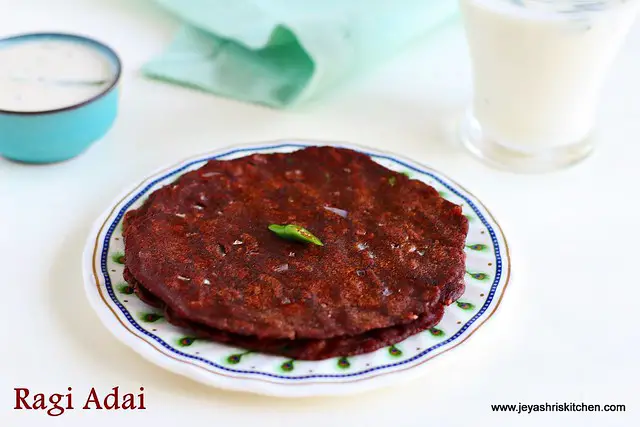
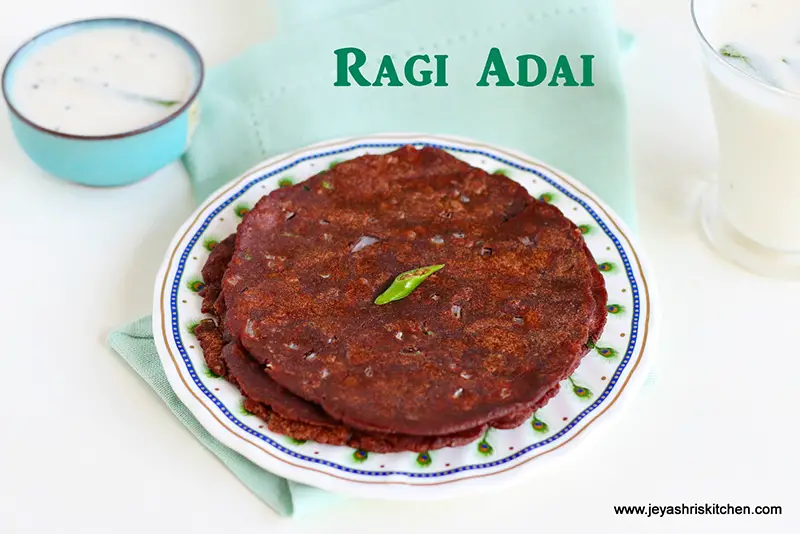
Ragi adai | finger millet adai , is a very healthy recipe, which can be served either for breakfast or for dinner. Healthy and easy Ragi savory adai recipe with step-by-step pictures.
When I was casually talking to a friend about this ragi adai some weeks back, she said that her mom makes it well and she told she would pass on the recipe to me. I made it as per her instructions and tasted Ragi adai for the first time. It tasted super yummy. Such a simple and healthy recipe made using easily available ingredients. This Ragi adai is gluten-free too. We are not adding rice flour to this. Adding hot water helps to bind well and the adais stayed soft even after 2 hours.
Check out my notes section at the end of the post. These ragi adais turned out to be so perfect. Check out my other ragi recipes:
Ragi Adai recipe
Ingredients
- 1 cup Ragi flour | Finger millet flour
- 1 Onion
- 1 Green chili
- Salt as needed
- Water as needed
- Curry leaves as needed
- Oil to cook the adais
Instructions
- In a wide bowl add the ragi flour(finger millet flour), finely chopped onions, salt, finely chopped green chili, and chopped curry leaves.
- Boil 1 and 1/4 cup of water till it comes to a rolling boil.
- Add the water slowly to the ragi flour. The flour depending upon the texture will absorb water approximately around 1 and 1/4 cup to a 1 and 1/2 cup.
- Using a spoon mix the flour well
- Mix well and make it into a sticky dough. Grease your hands and knead it into a soft dough. It will be slightly sticky, if you make it tight, the adai will break while making it and end up in dry adais.
- Grease a ziplock cover or a parchment paper and grease it with a drop of sesame oil or you can use a banana leaf too.
- Place a big lemon-sized ball on it and flatten it.
- Grease your hands with a little oil and make it a thin roti with your hands.
- Heat a tawa and when it is hot, slowly take out the adai which you flattened by inverting the cover on you hands.
- Do not worry, it will easily come out. If using banana leaf you can invert it directly on the tawa and slowly take out the leaf.
- Place this on the hot tawa and cook it on both sides. It will take time for the adai to get cooked.
- Keep it in a medium low flame.
- When both sides are cooked completely, add few drops of oil and take it out from the tawa.
- Serve it hot with any chutney of your choice. I had with my favorite coconut chutney.
- Repeat the same procedure for the rest of the dough. As amma always says ragi generates body heat, have it with a glass of buttermilk.
Notes
1. Always use hot water to knead the dough. It will give the perfect texture for rotis. 2. Chop the onions, and green chilies very finely so that you can pat the adai easily with your hands. 3. Do not make the Ragi adai dough too dry, let it be slightly sticky.
Method:
- In a wide bowl add the ragi flour(finger millet flour), finely chopped onions, salt, finely chopped green chili, and chopped curry leaves.
- Boil 1 and 1/4 cup of water till it comes to a rolling boil.
- Add the water slowly to the ragi flour. The flour depending upon the texture will absorb water approximately around 1 and 1/4 cup to a 1 and 1/2 cup.
- Using a spoon mix the flour well.

- Mix well and make it into a sticky dough. Grease your hands and knead it into a soft dough. It will be slightly sticky, if you make it tight, the adai will break while making it and end up in dry adais.

- Grease a ziplock cover and grease it with a drop of sesame oil or you can use a banana leaf too.
- Place a big lemon-sized ball on it and flatten it.

- Grease your hands with a little oil and make it a thin roti with your hands.
- Heat a tawa and when it is hot, slowly take out the adai which you flattened by inverting the cover on you hands.
- Do not worry, it will easily come out. If using banana leaf you can invert it directly on the tawa and slowly take out the leaf.

- Place this on the hot tawa and cook it on both sides. It will take time for the adai to get cooked.
- Keep it in a medium low flame.

- When both sides are cooked completely, add a few drops of oil and take it out from the tawa.
- Serve it hot with any chutney of your choice. I had it with my favorite coconut chutney.

- Repeat the same procedure for the rest of the dough. As amma always says ragi generates body heat, have it with a glass of buttermilk.
- Always use hot water to knead the dough. It will give the perfect texture for rotis.
- Chop the onions, and green chilies very finely so that you can pat the adai easily with your hands.
- Do not make the Ragi adai dough too dry, let it be slightly sticky.





healthy adai
healthy adai
healthy start for the day Jey