Milagu vadai recipe | anjaneyar kovil vadai
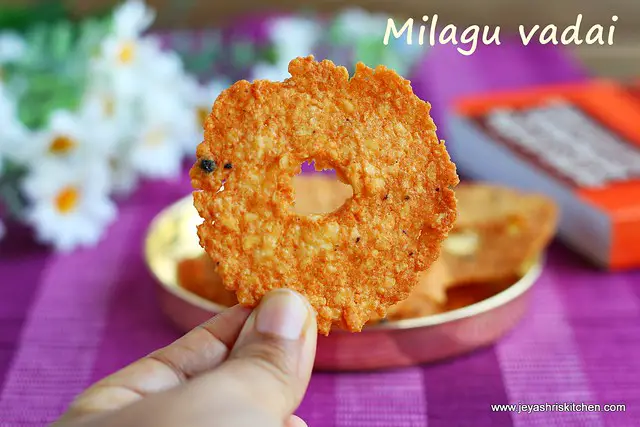
Milagu vadai or Anjaneyar kovil vadai is a traditional prasadam offered in anjaneyar temple. Before marriage in my town for anjaneyar they used to put the usual ulundu vada malai. After coming to chennai, we have an anjayneyar temple just opposite our house. There they used to put this thattai type crispy milagu vadai for anjayneyar and distribute it to all. Living there in the same street, we used to get the vadais daily and every day around 11 am they started making the vadais in the temple madapalli (kitchen). We could smell the vadai from our living room itself as the temple is just a few steps away from our house. I wanted to try this at home for a long time. My mil also enquired about the recipe with the temple friend roughly and told me. One of my friends who lives in the US once shared this vadai picture in a WhatsApp group. I was so curious to learn it from her too. After 10 days, she made it again for me and explained me with step-wise pictures. Wow, what a friend, a true dedication. So here I am with you with the perfect milagu vadai recipe.
Milagu vadai recipe
Ingredients
- 1/2 cup Whole urad dal
- 1 tsp Black pepper
- 1 tbsp Rice flour
- Salt as needed
- Oil for deep frying
Instructions
- Soak the urad dal in water for 30 minutes. Drain the water completely and put the urad dal in a colander to drain the water completely.
- Soak the urad dal in water for 30 minutes. Drain the water completely and put the urad dal in a colander to drain the water completely.
- Pulse the urad dal without adding any water. Add the peppercorns and rice flour now and pulse again. If needed add 1 tsp of water. Do not grind into a smooth paste. Grind it coarsely and thick.
- Add 1 tsp of hot oil and salt to the ground mixture. Mix well.
- Grease a zip lock cover with oil.
- Heat oil for frying. Take a very small lemon-sized dough and place it in the center of the ziplock.
- Place another greased ziplock cover on it and place a flat-based vessel (I used a davara) on the ziplock to get even roundels.
- Using your fingers further makes it thin. Be careful not to tear it.
- The thinner the vadais the more crispier it will be.
- Carefully take out the ziplock which we kept on the top. Place a hole in the center of the vadai. Grease your hands before that.
- Lift it carefully and put it inside hot oil. Ensure the oil should not be smoking hot. Keep the flame to medium-low while frying. Turn on both sides and ensure even cooking. Once they become golden brown take it out from the oil.
- Drain the excess oil. Repeat this for the rest of the dough.
Video
Notes
1. Do not soak for more than 30 minutes. In fact after I made this a friend's mother told me, that 15 minutes of soaking is enough. 2. Do not add water while grinding. 3. Rice flour and hot oil give crispiness to the vadai. So do not skip it. 4. Always ensure the oil is not too hot while frying. 5. You can use black urad dal too for making this milagu vadai. 6. Always make this vadai thin, or else you will end up making soggy vadai instead of crispy vadai. 7. This vadai stays crispy for 4-5 days if stored in an airtight container.
Method:
- Soak the urad dal in water for 30 minutes. Drain the water completely and put the urad dal in a colander to drain the water completely.

- Pulse the urad dal without adding any water. Add the peppercorns and rice flour now and pulse again. If needed add 1 tsp of water. Do not grind into a smooth paste. Grind it coarsely and thick.

- Add 1 tsp of hot oil and salt to the ground mixture. Mix well.
- Grease a zip lock cover with oil.
- Heat oil for frying. Take a very small lemon-sized dough and place it in the center of the ziplock.

- Place another greased ziplock cover on it and place a flat-based vessel (I used a davara) on the ziplock to get even roundels.

- Using your fingers further makes it thin. Be careful not to tear it.
- The thinner the vadais the more crispier it will be.

- Carefully take out the ziplock which we kept on the top. Place a hole in the center of the vadai. Grease your hands before that.

- Lift it carefully and put it inside hot oil. Ensure the oil should not be smoking hot. Keep the flame to medium-low while frying. Turn on both sides and ensure even cooking. Once they become golden brown take it out from the oil.

- Drain the excess oil. Repeat this for the rest of the dough.
- Do not soak for more than 30 minutes. In fact after I made this a friend’s mother told me, that 15 minutes of soaking is enough.
- Do not add water while grinding.
- Rice flour and hot oil give crispiness to the vadai. So do not skip it.
- Always ensure the oil is not too hot while frying.
- You can use black urad dal too for making this milagu vadai.
- Always make this vadai thin, or else you will end up making soggy vadai instead of crispy vadai.
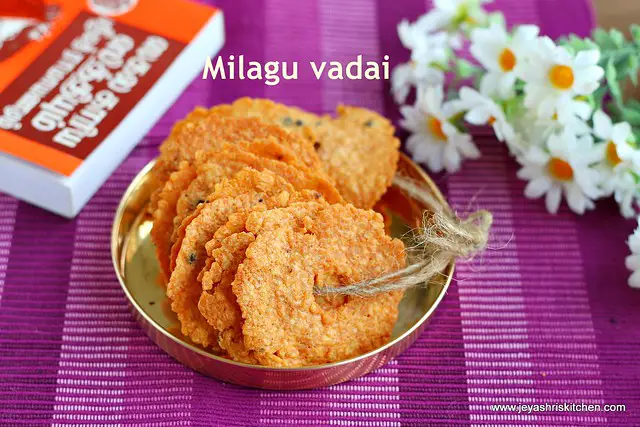
- This vadai stays crispy for 4-5 days if stored in an airtight container.

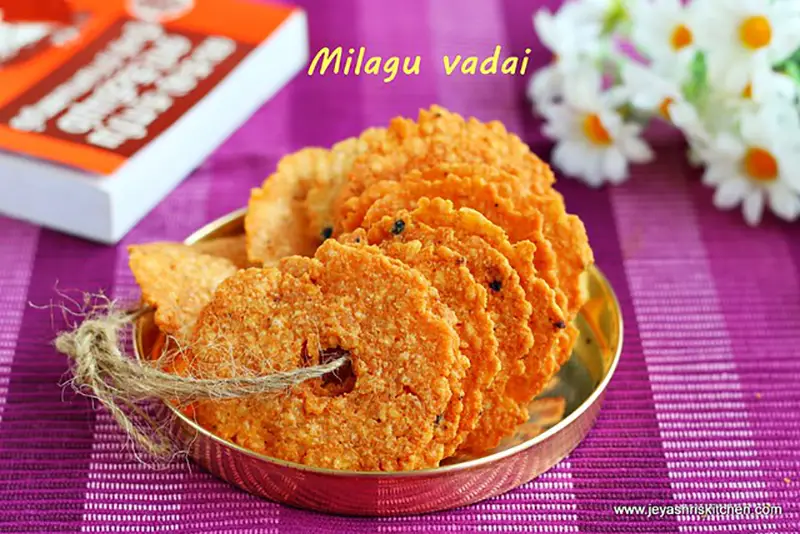



crispy and delicious!!! looks super perfect!!
Kalakarel pongo!!!
I love these vadai.. I had them once in Hanuman temple in Mumbai.. thanks for sharing the recipe. I will make them sometime soon.
Hi jeyasri… Thank you so much for the recipe. I was craving for these vada.. Tried it last week and got the exact same taste what they serve in temple.
Can we make it using broken (halved) urad dal?
Yes you can make
Hai I tried the recipie today. It came out very well. Thank you
When we use black urad shall, should we remove the outer skin?
Yes just wash it nicely, even if you have few left its ok
I tried your receipe. It came out well. Thank you so much .
Tried it for Hanuman Jayanthi… It came out well… Thank you so much
Excellent! You have done a great service by teaching this anjeneyar vadai. I made it and came out well. All credits to you. Let anjeneyar shower his blessings on you.!
Can you please post a video recipe as well? Thanks!
Sure will do
Hi thanks for sharing the recipe. I did for the first time and It came out well.
So happy to know that. Thank you.
I tried this vadai today for hanuman Jayanthi came out perfectly I just have a doubt if we put more than half cup of urad dhal how much time is needed to soak
Happy to know that. It is the same 30 minutes only.
Thanks for the melagu vadai/ Anjeyanar vadamalai recipe. Today I tried it came out crisp and tasty. The method of using zip lock covers was indeed very helpful .
So happy to know that. Thanks a lot for the feedback